Monday 28 January 2013

I can't plan...

I change my mind like the weather (just ask Paul) and this card is one of the prime examples!! I was going to demonstrate this card on Create and Craft today, but the stock ran out before my demos did!! so here is a little run down on how it came about.

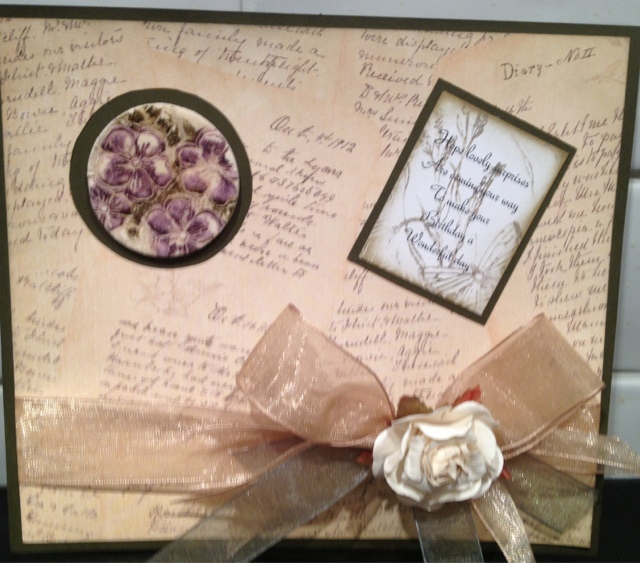
It was going to be like wet stamping, where you ink the mask and lay it on wet card, let the colour bleed out and then over stamp! But shock horror I changed my mind and decided to lay the inked mask onto the wet card and then ran it through the Grand Calibur (on the nesties cutting sandwich) and wow I loved the effect. The colour was sort of washed out and around, leaving the mask design pale, and as the card I used was a pulp card (more like water colour card) it compacted slightly giving a slight embossed look. I matted and layered it, as I thought it needed nothing else. Hope you like it.

Happy Crafting

Ali

Sunday 20 January 2013

Transferring...

Last week we launched our washable verses on Create and Craft and they proved popular, so popular I didn't get to demo the below card. Now on first look you think "nothing special" a greeting stamped on patterned paper and matted up with co-ordinating papers. But the greeting is not stamped it is from the washable verses, these are black printed verses on 300gsm card, so how do you get it on to patterned paper??
Well the secret is in the fact that the ink is waterproof. So choose your greeting, and cover in Sellotape (I used the wide parcel tape as it covered the entire greeting with one piece), take the back of a teaspoon and run like billy o, you will see the tape adhere better to the card, then cut roughly out of the whole sheet and drop the tape covered greeting into a saucer of warm water. Leave it to soak for a while, and then run away the card, if it is difficult, leave to soak a bit longer. Then take a piece of kitchen towel and rub away any paper residue, until you are just left with the words on the back of the tape. Allow to dry, the tape will still be sticky so make sure you leave it to dry face down. When dry adhere to your patterned paper of choice! Simple!!

Enjoy

Happy Crafting

Ali xx

Saturday 12 January 2013

Plenty of dough!!

I know I know I am rubbish!! But at least I have plenty to share...so lets get started with the first post of the year!! I wanted to share my salt dough project! The dough itself is easy to make, 2 cups of plain flour, 1 cup if salt, 1 cup of warm water, mix together into a dough, unused dough will keep in the fridge. Then just roll out like pastry. Then use your stamps to make impressions in the dough, if you leave the stamp clean you can ink after the dough is dry and also brush on mica which looks amazing, or ink your stamp up and then as you stamp the colour is transferred to the dough. But my favourite is to fully colour the stamp, even into the recesses with distress markers, then wipe off the ink on the raised parts, now when you press it in to the dough the ink from the recesses is transferred to the raised elements of the design. Then simply use cookie cutters to cut out your designs. Leave to dry, in the air it will take a while or you can pop them in a warm oven to speed up the drying process. You now have stunning unique embellishments for cards. Fun and cheap!!

Happy crafting

Ali xx